Hi
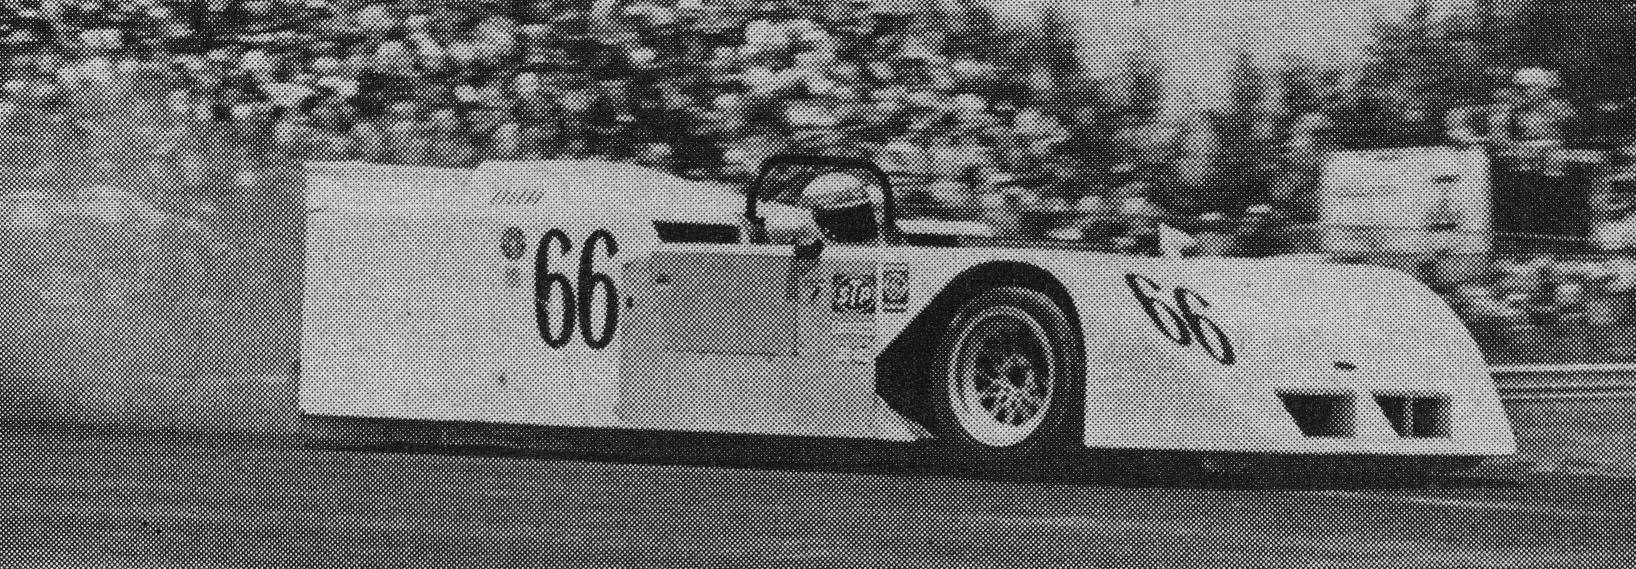
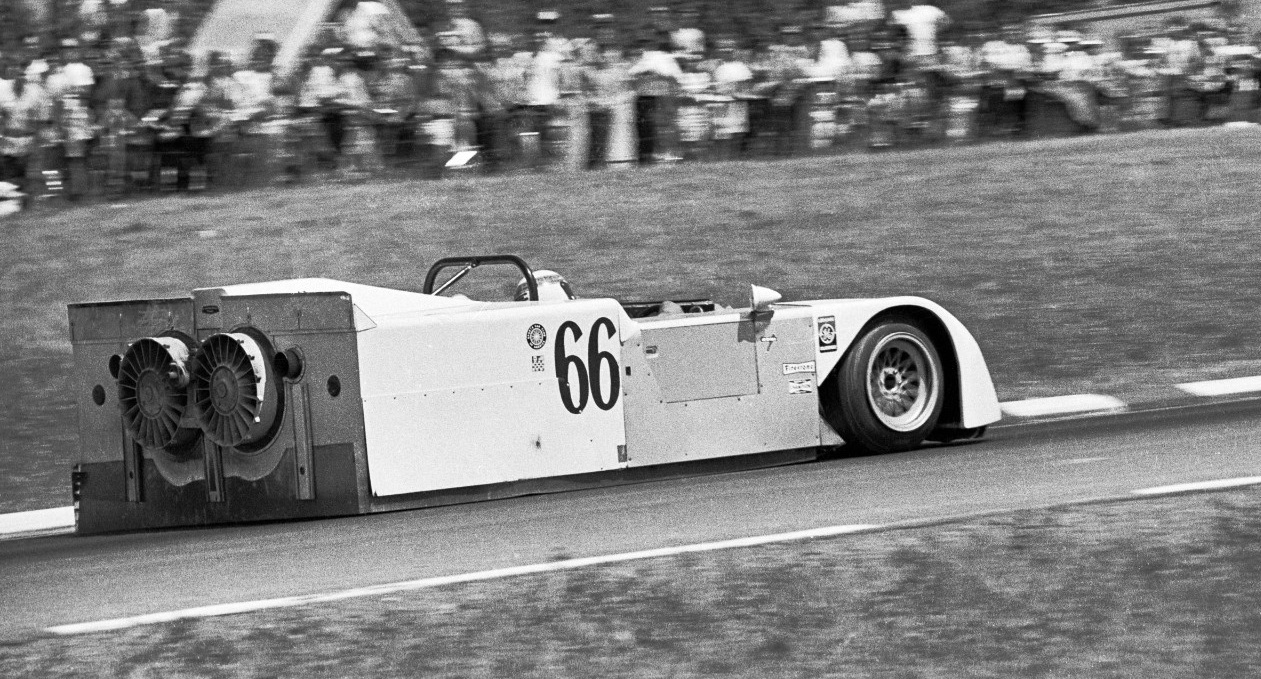
This time Ill share with you some progress made on a Chaparral 2J
![]()
![]()
Ive started months ago and now its nearly finished. The idea is to propose you the step by step of each improvement
The complete kit came from CG slotcar. All pieces 3D printed.
The kit is proposed ready to build, means no special need to be paint, all pieces come in their final color except the aluminum part of the body.
As the body that I received was not fitting with my expectations (see stratum due to the printing layers)
![]()
I decided to take my time and upgrade the whole kit.
This can be seen as an exercise in order to practice several technique for which I had no clue before starting the realization
First I sprayed a fine primer layer to highlight stratum and irregularities
![]()
![]()
Then I used surfacer to fill those irregularities and then sanded it.
![]()
This operations was repeated several time before having this result:
![]()
![]()
To be continued later
This time Ill share with you some progress made on a Chaparral 2J
Ive started months ago and now its nearly finished. The idea is to propose you the step by step of each improvement
The complete kit came from CG slotcar. All pieces 3D printed.
The kit is proposed ready to build, means no special need to be paint, all pieces come in their final color except the aluminum part of the body.
As the body that I received was not fitting with my expectations (see stratum due to the printing layers)

I decided to take my time and upgrade the whole kit.
This can be seen as an exercise in order to practice several technique for which I had no clue before starting the realization
First I sprayed a fine primer layer to highlight stratum and irregularities


Then I used surfacer to fill those irregularities and then sanded it.

This operations was repeated several time before having this result:


To be continued later