I fancied a little Lotus 30 as there was a resin body for sale on eBay. I decided to try and do some cockpit detail so tested a side-wider chassis from Penelope Pitlane and to my surprise it fitted (after ages spent fiddling) and the project was on.
The body needed a bit of cleaning up:-
Clean away all excess flash
Remove excess moulding from underneath/inside
Cut away driver and cockpit. My driver came with deformed hands so wouldnt have been much use anyway.
Cut out the inlet opening over the engine.
Cut out the front air vents, front side lights, front headlights, rear lights and exhausts.
The rebate for the screen needed squaring up and re-sinking.
Remove the wobbly blister on the front bonnet.
Cut out the old petrol filler cap.
Re-scribe all the shut lines with a square edged cutter.
Add new rear vent and location hole for additional rear light.
I also wanted to have those nice lightly flared wheel arches and a flare on the inlet opening so these were added with styrene and filler.
The front and rear lights were made from lenses placed on/in styrene tubes and fitted into the drilled openings.
The front side lenses were made from two part epoxy coloured orange and fitted over the styrene plugs.
The screen was given an edging from styrene.
The inlet stack was eight eyelets glued onto styrene sheet.
A roll over bar was formed from brass rod and then covered with heat shrink.
Brass tube made up the new exhausts.
Dzus fastenings on boot and bonnet were drilled out, re-countersunk and replaced with tiny styrene versions.
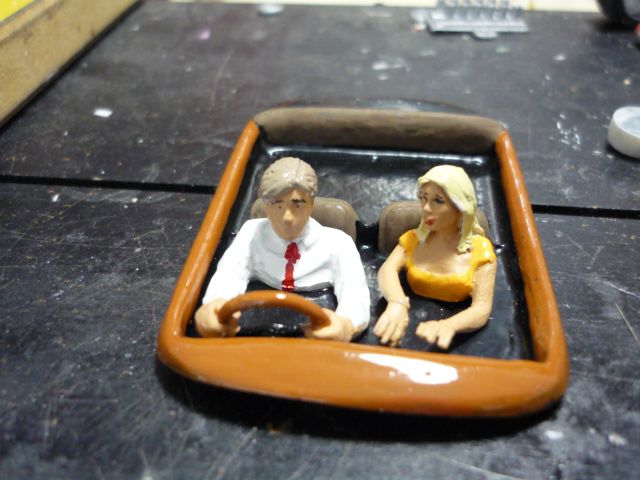
The cockpit was made form very thin styrene sheet, as was the seat an dashboard. Steering wheel and extinguisher came from other kits.
The driver body was a reworked MRRC with the head from the resin kit.
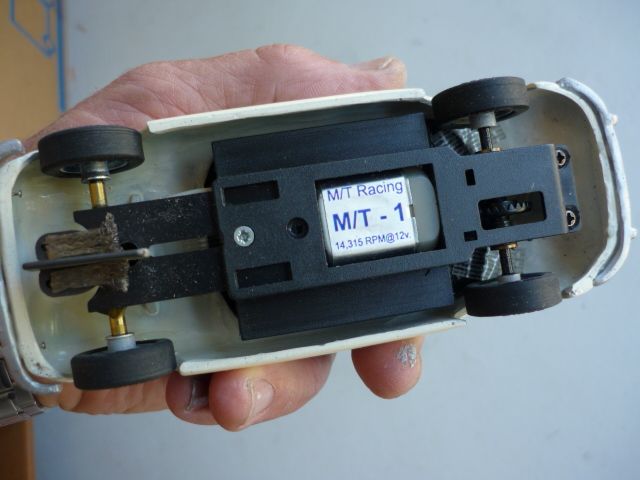
The chassis was built with the extra side pans used as the main front axle holder and the normal axle holder placed to one side to be used in some other project. PP users will note the left and right sides have been swapped over.
New mounts for the chassis from styrene and epoxy.
A little wiring harness takes the power from the braids to the motor thereby allowing it to be hidden away tidily.
The motor needed grinding away the inner corner to clear the oilite bearing fitted inside out and cutting the endbell a little for the same reason. This was done so I could fit the wheels I already had which meant really squeezing on the width so that it would all fit within the body width.
Paint was Halfords rattle can, decals from somewhere (who knows where), filler cap was real foil (my first attempt its a nightmare to handle), detailing with brush.
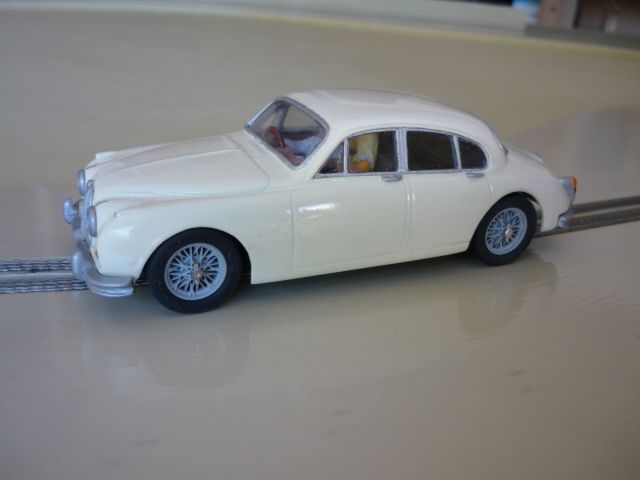
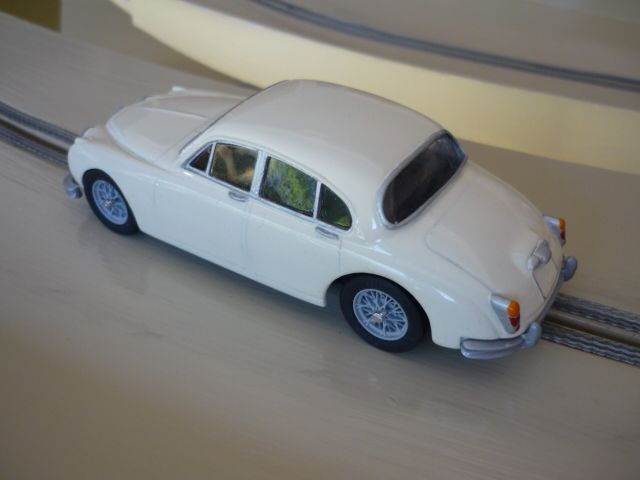
Voila!
![]()
![]()
![]()
![]()
![]()
![]()
![]()
![]()
![]()


 . I removed the gearbox for now as it rubbed against the gears. I will reposition it later as part of the rear suspension.